Introduction:
A virtual machine is a software emulator that allows you to install an operating system let it be Unix based, Windows based, or Mac based even regardless of the operating system you are using to perform this. Whatever you do in a virtual machine does NOT leave the virtual machine. Therefore, experimenting with operating systems can be fun without damaging your computer. Of of these virtual machine programs I will be demonstrating is VirtualBox by Oracle. Granted, there are more VMs out there, but this one should get you started.
How to make a virtual machine using Oracle's Virtualbox
1. First, go to http://www.virtualbox.org and from there, click on "downloads" and where it says: "VirtualBox x.x.x (version changes from time to time) for Windows hosts" next to it, click on "x86/amd64"
So you know where it is, save it to the desktop (personal preference. Feel free to put it wherever you will find it. I keep it on the desktop so I can easily get rid of the installation icon later).

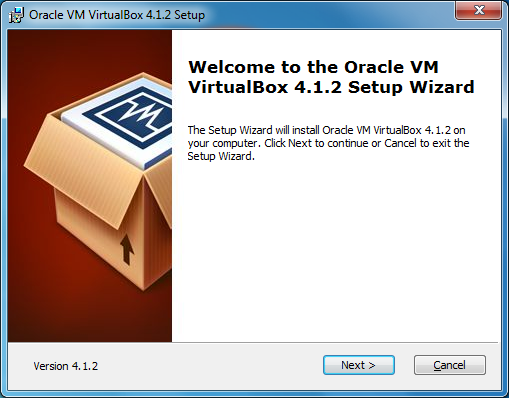
2. Click on the Virtualbox icon on the desktop (or wherever you put it) and double click on the icon. If you have your security on your computer, it will ask you if you want to run this program and if you trust it. Proceed by clicking on "Run" to start the installation.

Click on the icon to start the installation.

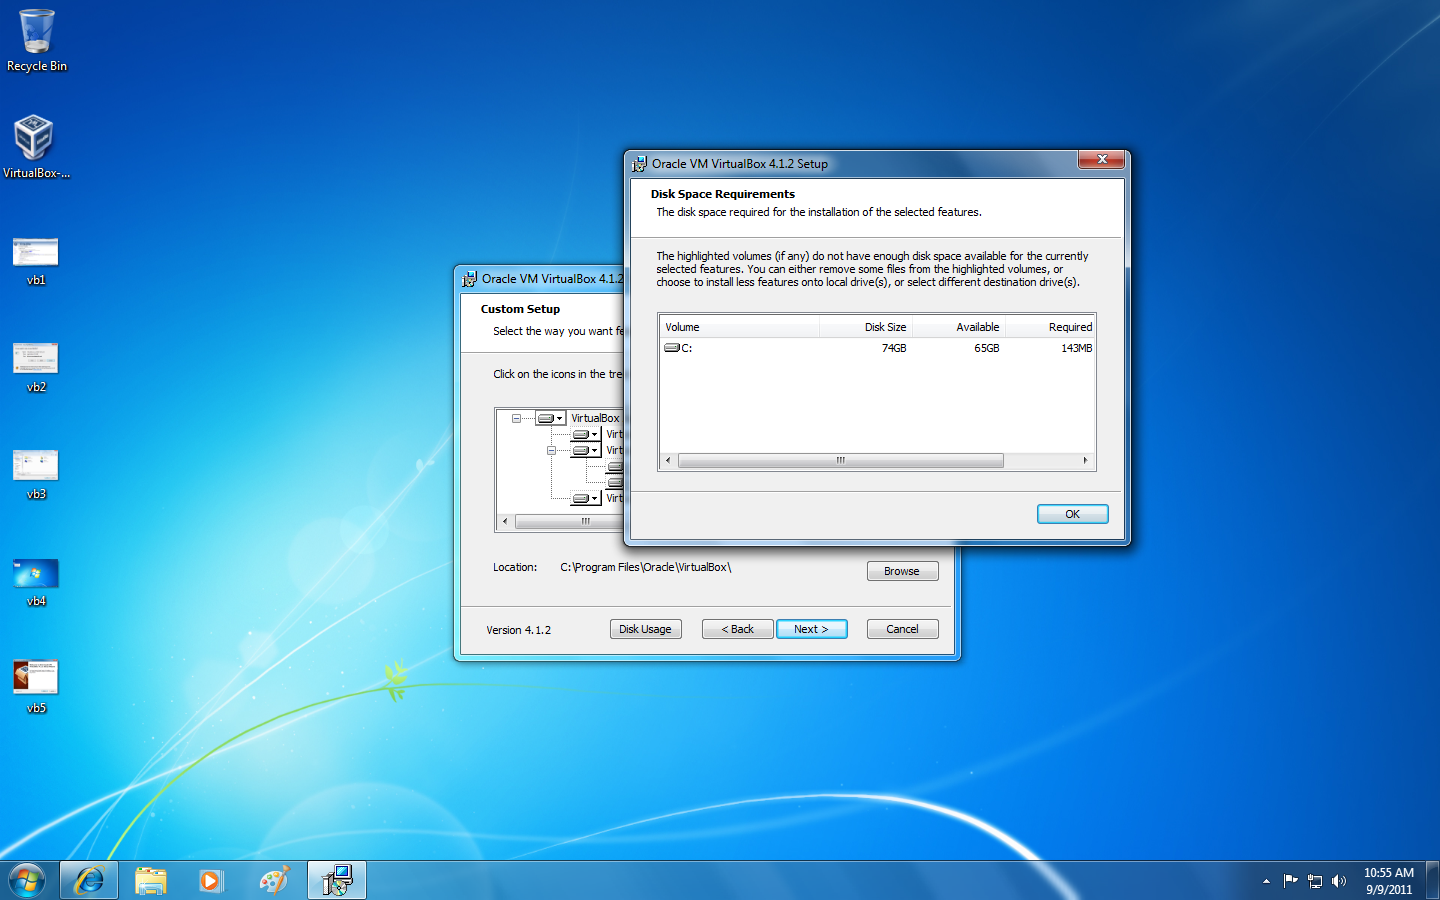
3. WARNING! BE SURE TO HAVE MORE THAN 109MB ON YOUR HARD DRIVE! To check, click on "Disk usage." After that, click "next." There will be a VirtualBox folder made after clicking next.
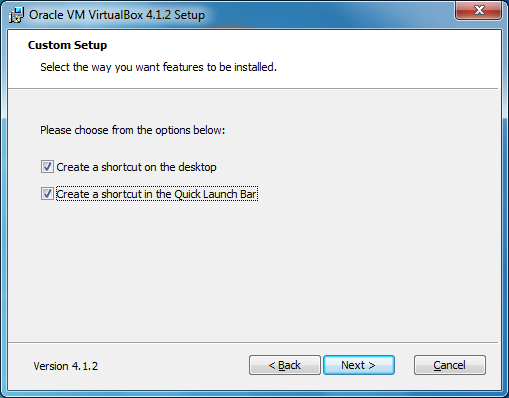
4. Next, it will ask you where you want shortcuts to access VirtualBox. Feel free to click on whatever boxes you want. Otherwise, proceed by clicking "next" once more.
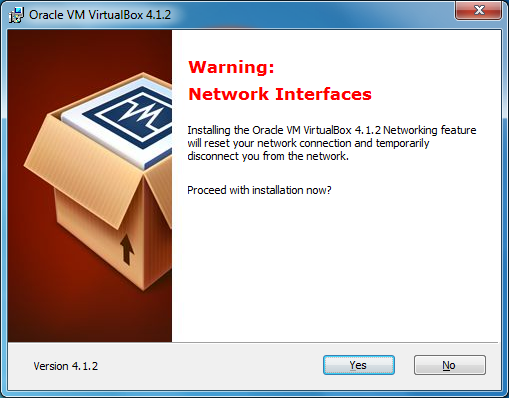
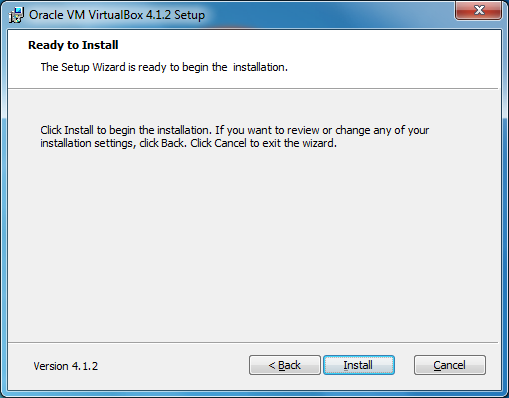
5. If a box appears stating that there is "Network Interfaces" (common if your PC is connected to a network). It will state that the network connection on your computer will be disconnected briefly. Proceed by clicking on "yes." Another box will then appear stating that the VirtualBox is ready to install. Click on "install."
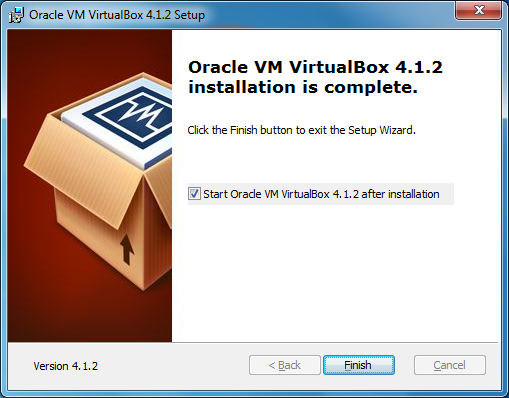
6. Depending on your security settings on your PC, you might get a few interruptions stating if it's OK to install this item. If asked, allow that piece of software to be installed. Once installed, click on "Finish" and start up Oracle VM VirtualBox. And...

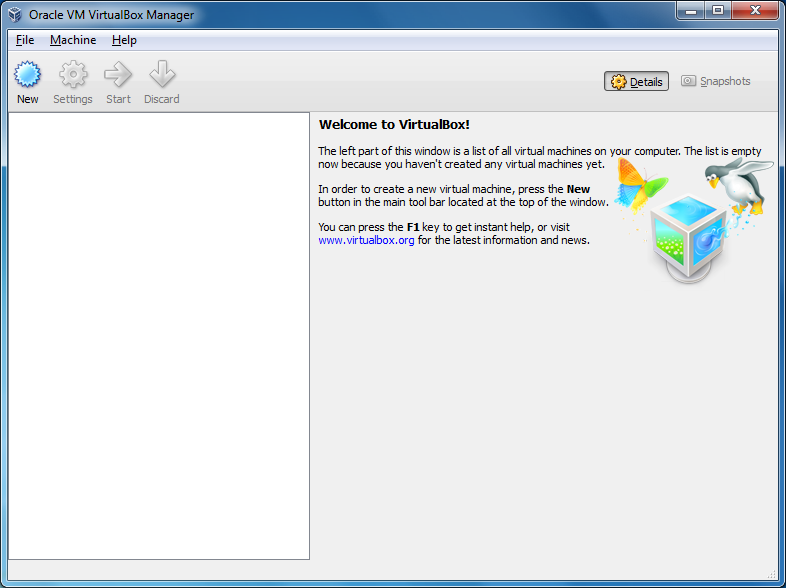
Congratulations! VirtualBox is now installed! You should have a window that should look like the depicted screenshot below! Click finish to begin creating your virtual machine.
7. Now, to get started with the virtual machine itself. First, click on "New"
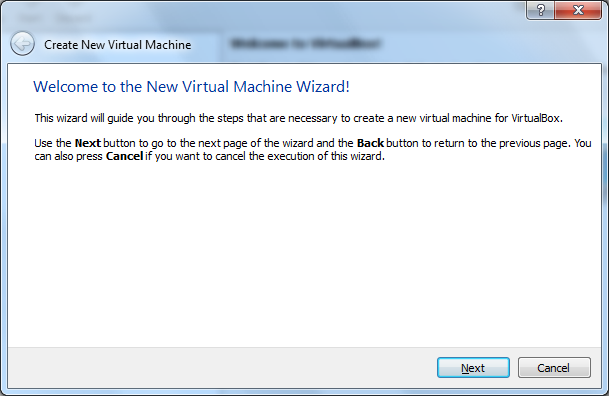
And start installing the virtual machine by clicking "next."
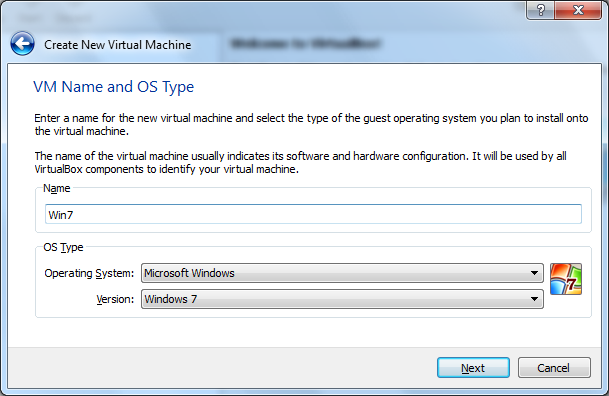
Next, you will be asked what you will be naming the virtual machine and what kind of operating system and version of that operating system you want to create. In this case, We'll name the virtual machine "Win7," the operating system in the drop-down box will be "Microsoft Windows" and the version that will be installed will be Windows 7 in this instance. Proceed by clicking on next.
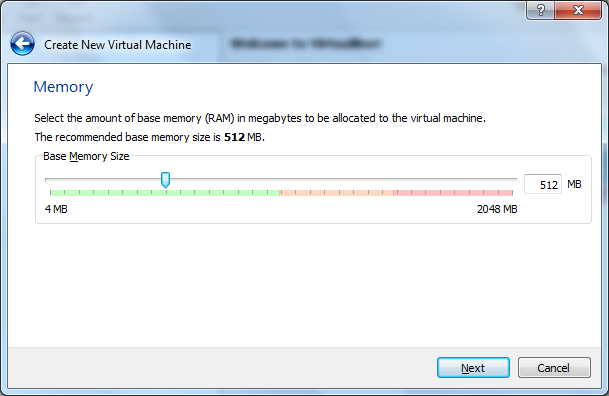
8. You will be asked next about the amount of RAM you want to be use. VirtualBox will automatically set the recommended base memory size. In this case, it will be 512 MB (different PCs may vary). Just continue forward by clicking on "next."
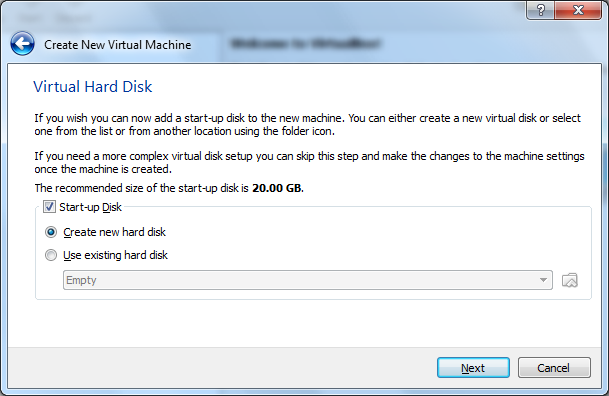
9. You will need to create a virtual hard disk. It should take up about 20.00GB. But once you make a start-up disk and create a new hard drive, you'll never need another one in case you want to create another virtual machine. Proceed by clicking on "next."
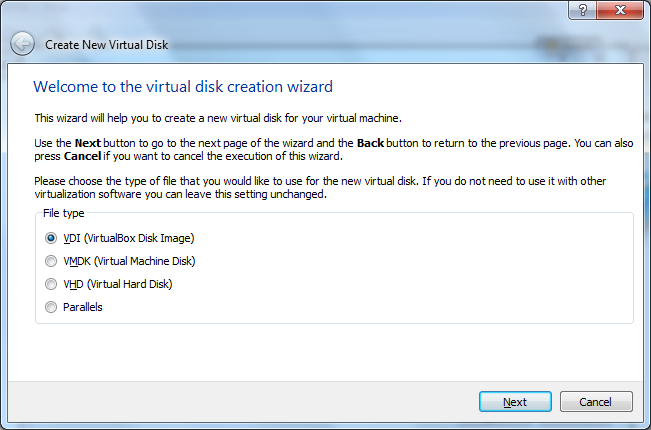
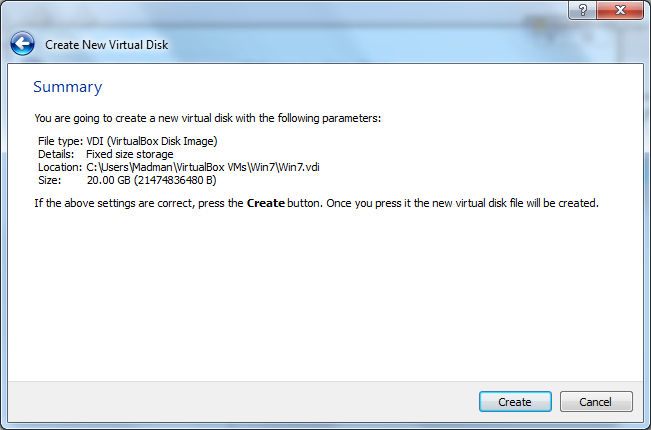
10. A new window will open up to create a virtual disk. The file type used will be a VDI (Virtual Disk Image). Click on that button option. Start the process by clicking on next.
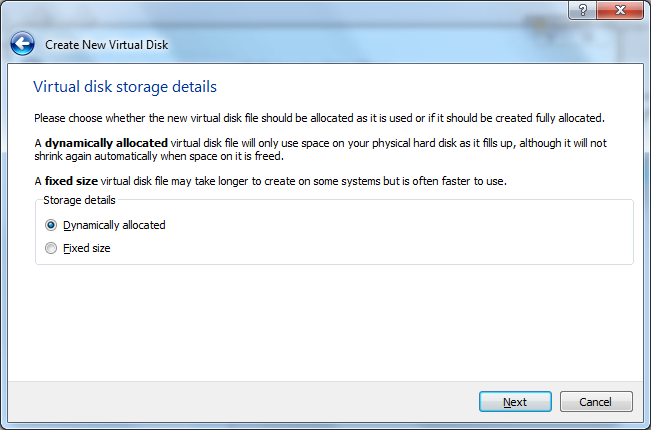
After doing so, you will need to store the the virtual disk. Select "Fixed Size" It will take longer to create, but it works faster and doesn't hog memory on your physical hard drive.
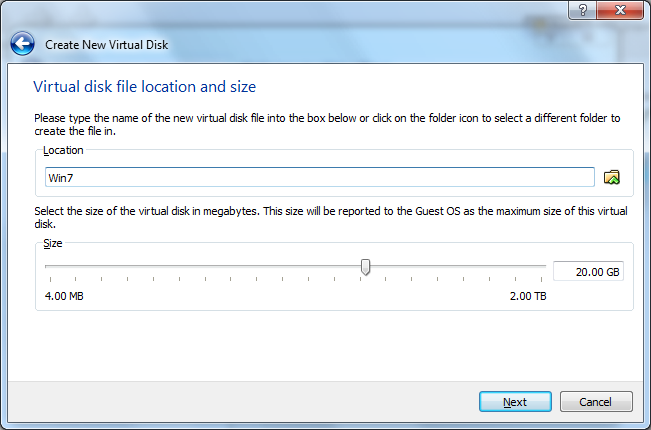
The location and size of the virtual disk should be 20.00GB and the location should be in the folder you named your virtual machine (in this case, Win7). Click next and you will be given a summary of what you are about to do. Click on "create" and start the process.
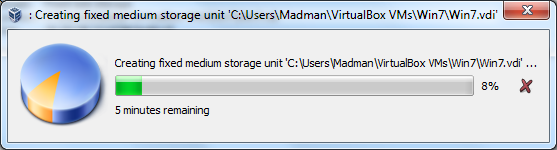
Kick back and wait. Shouldn't take too long. 5 Minutes at best. But again, it depends on how much there is allotted in your physical memory on your hard drive.
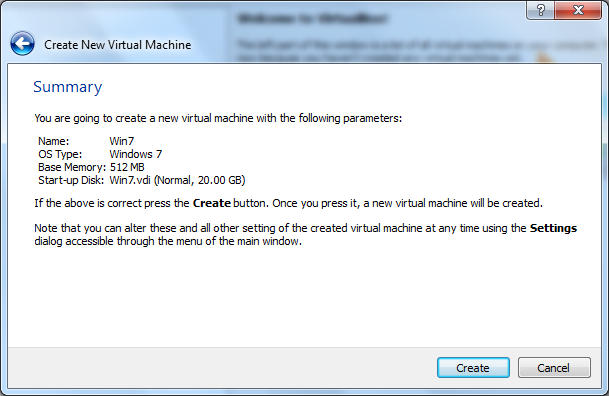
11. Once completed, a new box will appear to once again, show you the summary of what's going into your virtual machine. Click on "create."
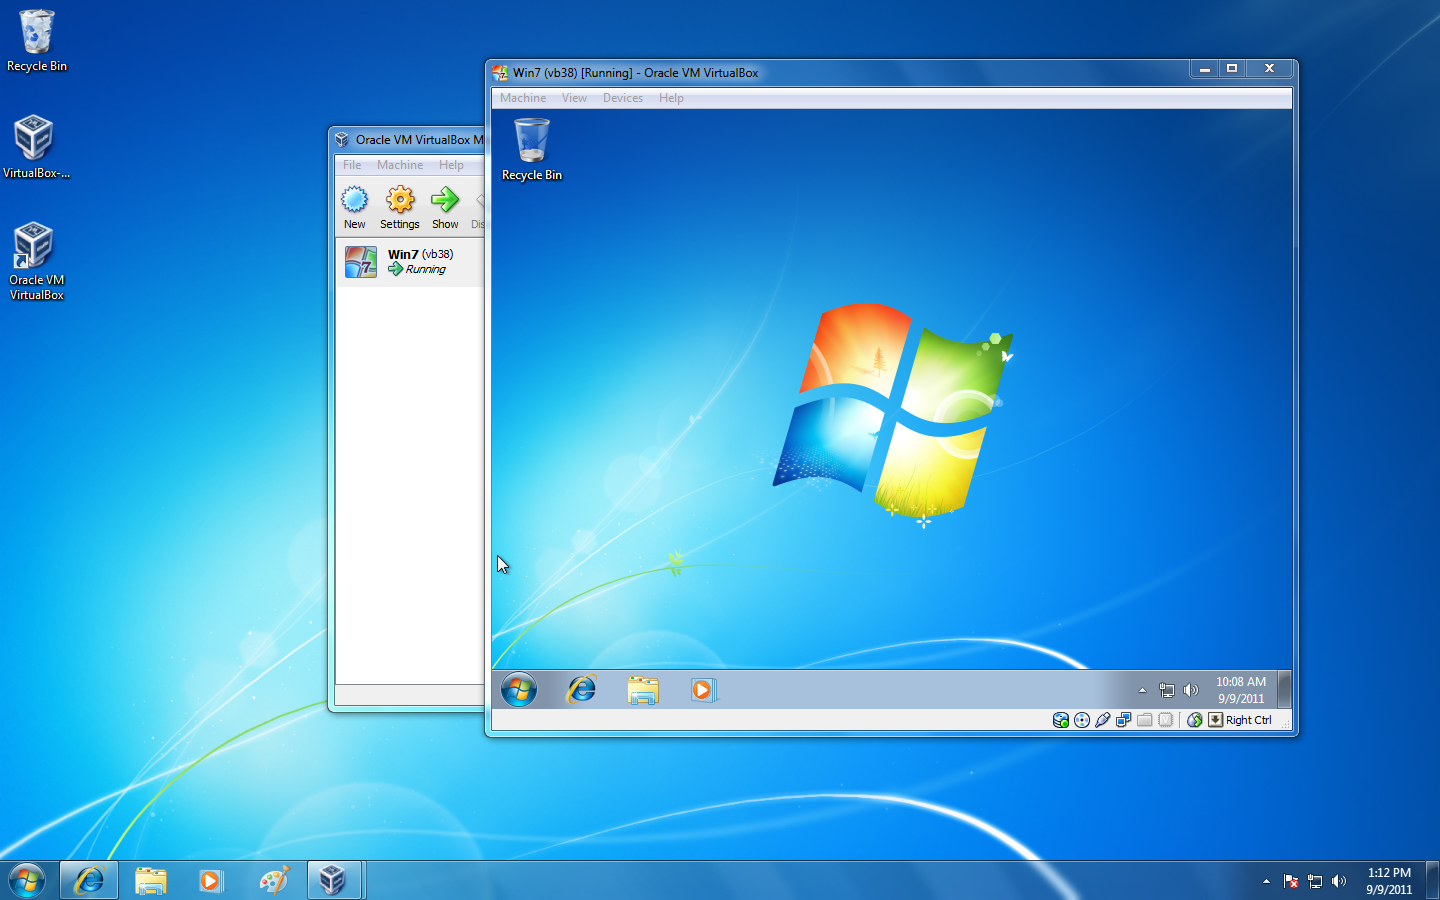
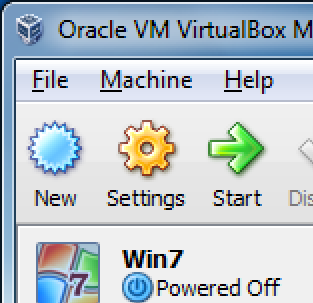
Once complete. You should have a window should look like this:
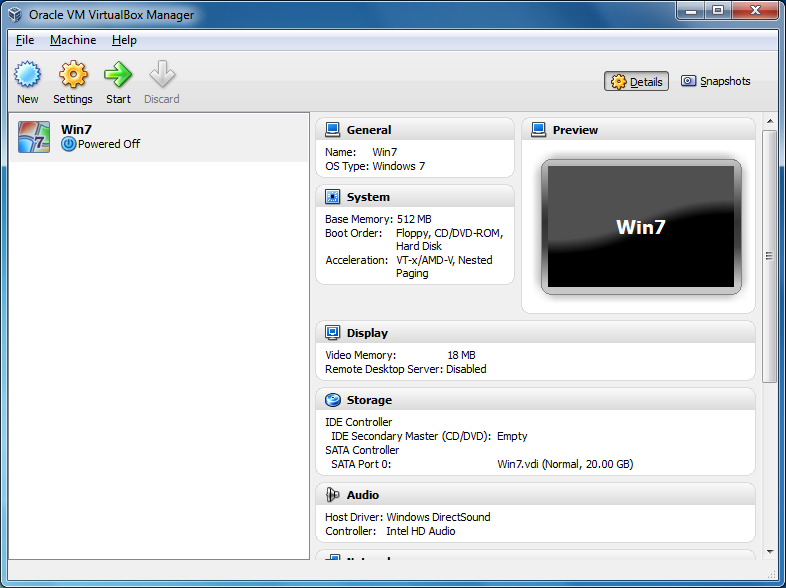
Now, since the VirtualMachine is without an operating system, one must be put on there. Put in your Windows 7 CD and click on the virtual machine you want to start up and click on "start."
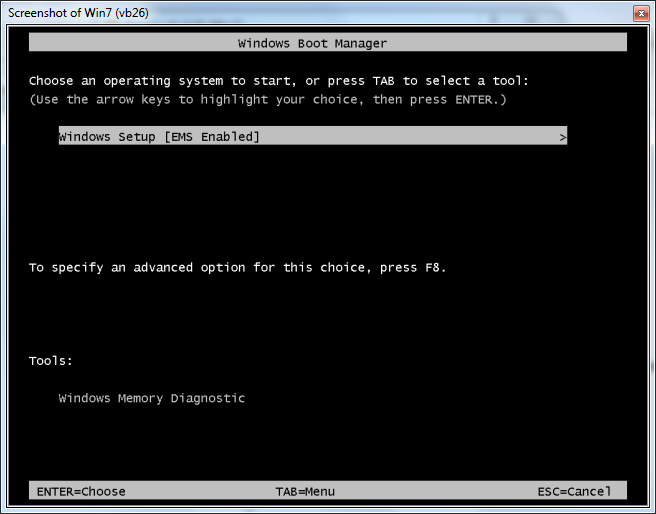
12. Once the virtual machine you selected has been started up, you will be asked to choose an operating system to start. Hit enter on "Windows setup [ems enabled]. Let the operating system run its course.
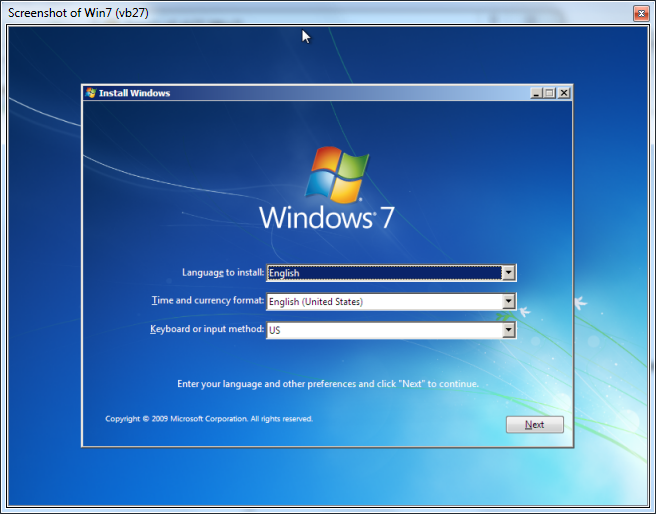
Once You see the "Install Windows" begin the installation by clicking on "next" and in the next screen, "install now." Read the license terms and click on on the box next to "I accept the license terms" and click on "next."
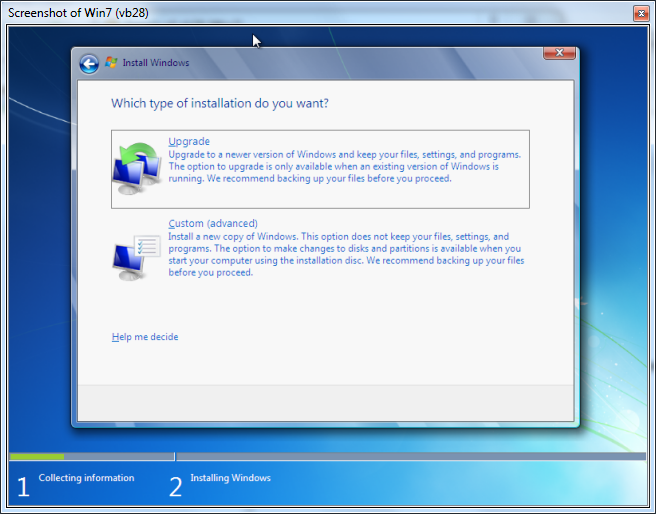
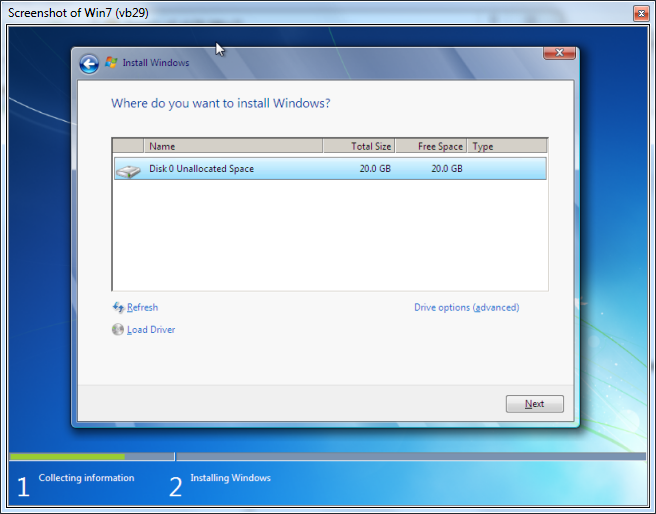
Click on "custom (advanced)" and then select the disk you want to use and click "next" afterwards.
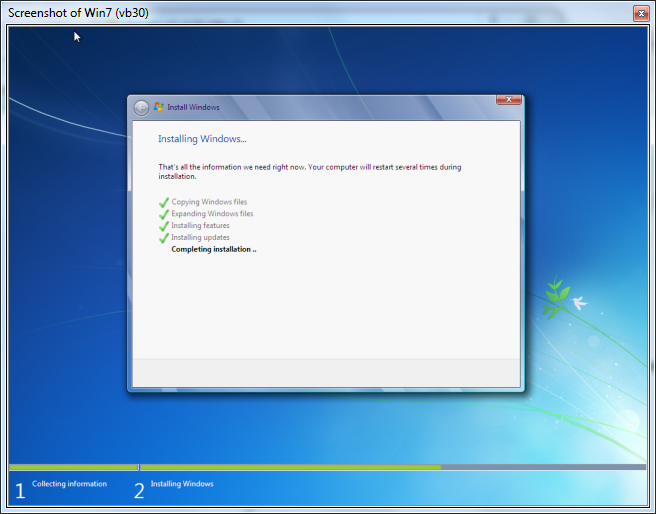
Wait a little while now. When the virtual machine restarts, remove the install disc (optional).
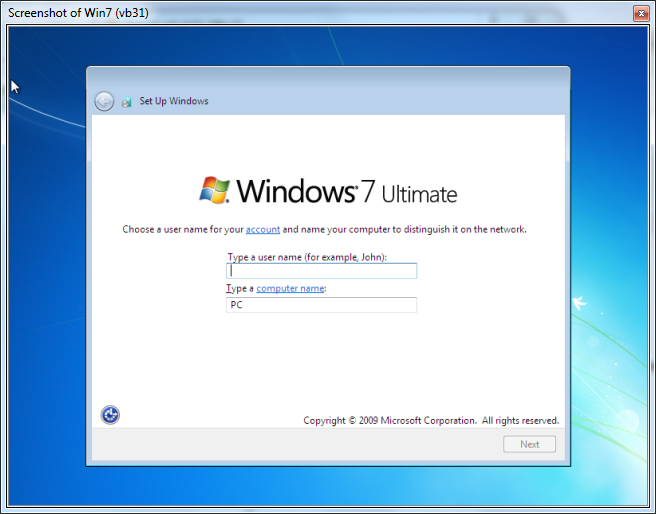
13. Now, the final touches to installing Windows 7. Put in a user name and a computer name. Click "next"
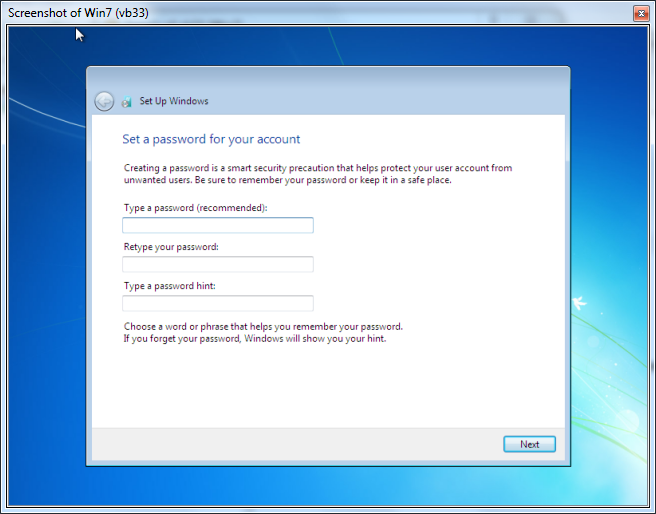
A password is highly reccomended. Otherwise, click "next"
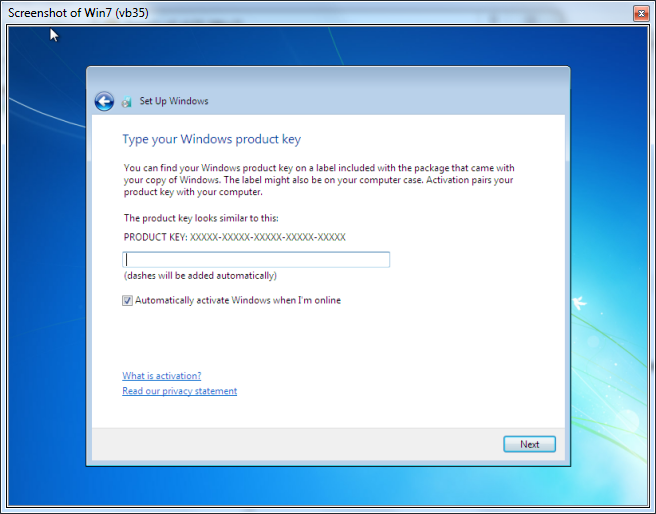
A product key is required. Continue forward by clicking "next.
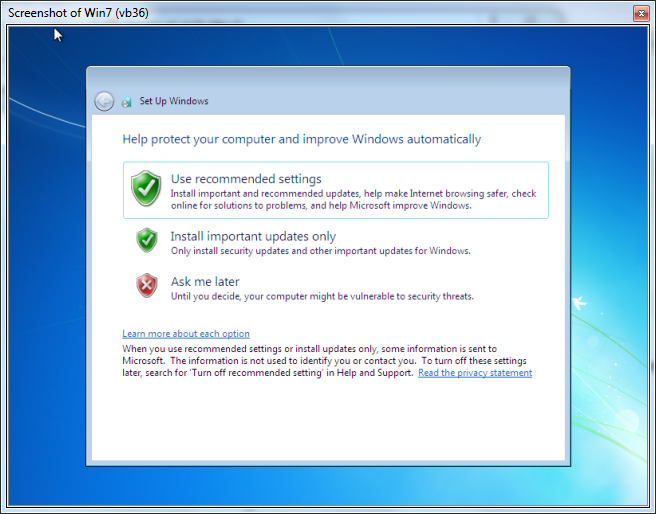
Next, Windows will ask you if you want it to install updates. Click on "Use recommended settings."
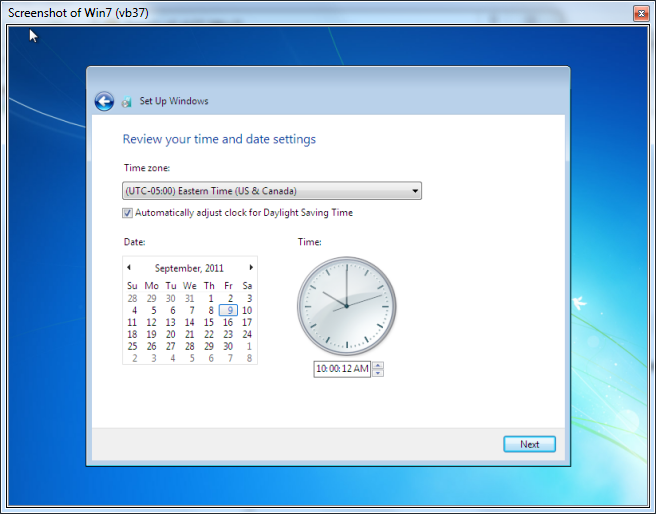
Set the time and date and click on "next" after that.
Next, select your computer's current location. In this case, click on home network.
And your Virtual machine is complete!